If there is one concept that every successful futures trader must master, it is support and resistance. These key price levels are the foundation of technical analysis -- the invisible barriers where buying and selling pressure concentrate, where trends pause or reverse, and where the highest-probability trade setups occur. Understanding how to identify and trade around support and resistance levels is not optional -- it is essential.
In this guide, we will explain what support and resistance actually are (beyond the textbook definition), how they form in futures markets, the different types of levels you should track, and how QubTrading's proprietary AI signal engine identifies and incorporates key levels into its composite scoring system.
Table of Contents
What Are Support and Resistance?
Support is a price level where buying pressure is strong enough to prevent price from falling further. When price approaches support from above, buyers step in, demand increases, and the decline stalls or reverses. Think of it as a floor -- price bounces off it.
Resistance is the opposite: a price level where selling pressure is strong enough to prevent price from rising further. When price approaches resistance from below, sellers step in, supply increases, and the advance stalls or reverses. Think of it as a ceiling -- price bumps against it and falls back.
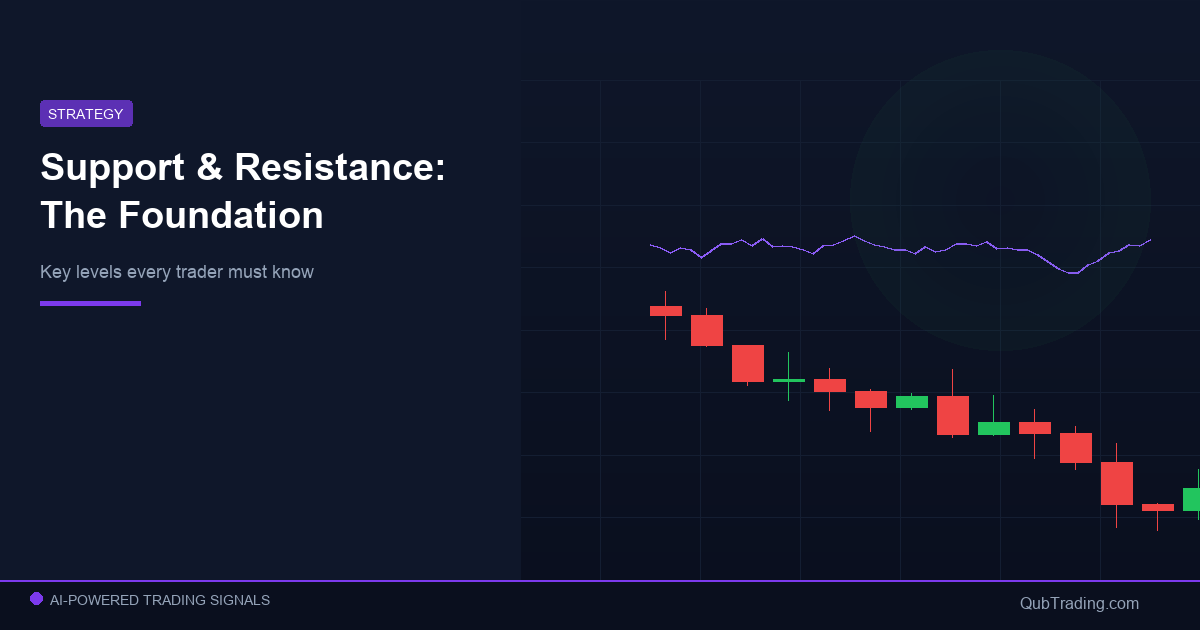
But here is what the textbooks often miss: support and resistance are not precise price points. They are zones. In MNQ futures, a "support level" at 18,500 does not mean price will bounce at exactly 18,500.00. It means there is a zone of concentrated buying interest roughly between 18,490 and 18,510 where the probability of a bounce increases significantly. Trading S/R successfully requires thinking in zones, not lines.
Key Concept: Support and resistance levels are not drawn by traders -- they are created by the collective behavior of all market participants. The levels exist because thousands of traders placed orders at similar prices for similar reasons. Your job is not to create them but to identify them.
Why Key Levels Form
Understanding why levels form helps you assess which ones are strong and which are weak. There are several mechanisms that create support and resistance:
Memory and Anchoring
Traders remember prices where they entered, exited, or experienced significant gains or losses. If a trader bought at 18,300 and watched price rally to 18,600, they remember 18,300 as a "good entry." If price returns to 18,300, they are likely to buy again. Multiply this behavior across thousands of traders and you get a support zone at 18,300.
Institutional Order Concentration
Large institutional traders place orders at specific levels based on their own analysis -- often at round numbers, VWAP, or levels derived from algorithmic calculations. These large orders create visible barriers that price must absorb before moving through. The bigger the institutional order, the stronger the level.
Self-Fulfilling Prophecy
Because so many traders use support and resistance, the levels become self-reinforcing. If enough traders believe 18,500 is support and place buy orders there, those buy orders actually create the support. This self-fulfilling nature is both the strength and the weakness of S/R trading -- levels work until they do not, and when they break, the failure is often violent.
Historical Volume Concentration
Price levels where significant volume has been transacted in the past tend to act as support or resistance in the future. Volume profile analysis reveals these levels clearly -- they are the price zones where the most contracts changed hands, indicating strong conviction from both buyers and sellers.
Types of Support and Resistance in Futures
Not all S/R levels are created equal. Here are the types you should track for MNQ trading:
1. Previous Day High/Low (PDH/PDL)
The previous day's high and low are among the most universally watched levels in futures trading. These levels represent the boundaries of the previous session's price action, and they carry significant psychological weight. Price approaching the previous day high from below frequently encounters resistance; price approaching the previous day low from above frequently finds support.
2. Overnight High/Low
The high and low established during the overnight session (6 PM - 9:30 AM ET) create important intraday levels. Breaking the overnight high suggests bullish momentum is strong; breaking the overnight low suggests bearish control. Many professional traders use overnight levels as their primary reference for the first 30 minutes of the US session.
3. VWAP
Volume-Weighted Average Price acts as dynamic support/resistance throughout the regular session. Price above VWAP indicates buyers are in control; price below VWAP indicates sellers are dominant. VWAP pullbacks during trends are among the highest-probability S/R setups available. See our comprehensive VWAP guide for detailed strategies.
4. Round Numbers (Psychological Levels)
In MNQ, levels like 18,000, 18,500, 19,000 carry psychological significance. Traders place orders at round numbers because they are easy to remember and psychologically satisfying. These levels often act as magnets for price, and the zones around them can produce extended consolidation or sharp reversals.
5. Swing Highs and Swing Lows
Previous swing points -- where price reversed direction -- mark levels where the balance between buyers and sellers shifted. These are the most traditional form of S/R and remain highly effective when properly identified. A swing low that has been tested multiple times becomes stronger with each test (until it breaks).
6. Opening Range
The high and low of the first 5, 15, or 30 minutes of the US session create an opening range that serves as intraday S/R. Breaking above the opening range high is bullish; breaking below the opening range low is bearish. This is a core level for scalping strategies.
How to Identify Strong Levels
The market is full of potential S/R levels. The skill is in identifying which ones are strong enough to trade against. Here are the characteristics of high-quality levels:
- Multiple touches. A level that has been tested 3-4 times is more reliable than one that has been tested once. Each touch confirms that traders are actively defending that price zone.
- Recency. Recent levels carry more weight than old ones. A support level from yesterday is more relevant than one from three months ago because the traders who created it are still in the market.
- Volume at the level. High volume at a price zone indicates that many contracts changed hands, meaning many traders have a financial interest in defending that level. Low-volume levels are easily broken.
- Confluence. When multiple types of S/R converge at the same price zone -- for example, the previous day low, a round number, and VWAP all near 18,500 -- the level is significantly stronger than any single type alone.
- Clean bounces. Levels that produce sharp, decisive bounces are stronger than levels where price lingers and chops around the zone. Sharp bounces indicate strong conviction from the defending side.
Common Mistake: Drawing too many S/R levels on your chart. If every 10-point zone is labeled as support or resistance, none of them are meaningful. Focus on the 3-5 most significant levels per session and ignore the noise.
Trading Strategies at Key Levels
The Bounce (Rejection) Trade
The most common S/R strategy: wait for price to approach a key level, watch for signs of rejection (wicks, volume spikes, order flow imbalance), and enter in the opposite direction. For a support bounce, you buy as price touches support and shows rejection. Your stop goes just below the support zone, and your target is the next resistance level above. This produces clean, defined risk-reward setups.
The Breakout Trade
When price breaks through a key level with strong momentum and volume, it often continues in the breakout direction. The key is confirmation -- a true breakout closes decisively beyond the level on strong volume. A false breakout (fakeout) pokes through and immediately reverses. Waiting for a close beyond the level, rather than entering on the initial break, reduces false breakout entries significantly.
The Retest Trade
After a breakout, price frequently pulls back to retest the broken level before continuing. Former resistance becomes support (and vice versa -- see role reversal below). The retest offers the best risk-reward of all S/R strategies because your stop is tight (just beyond the retested level) and your target is the full continuation of the breakout move.
The Role Reversal Principle
One of the most powerful concepts in S/R trading is role reversal: when support breaks, it becomes resistance, and when resistance breaks, it becomes support. This happens because the traders who were buying at support are now trapped in losing positions. When price returns to that level from below, those trapped longs sell to exit at breakeven, creating selling pressure that turns the former support into resistance.
Role reversal levels are particularly strong because they combine two forces: the original S/R significance of the level and the trapped-trader dynamics that reinforce it. Professional traders actively look for role reversal setups because they offer high-probability entries with clearly defined risk.
How AI Identifies Support and Resistance
Manually identifying and tracking S/R levels is time-consuming and subjective. Two traders looking at the same chart will often draw different levels, and neither will have a systematic way to determine which levels are most significant. This is where QubTrading's proprietary AI signal engine adds substantial value.
The system incorporates market structure analysis as one of the 10 factors in the composite scoring system. Here is how it works:
- Automated level detection. The AI continuously scans price data across multiple timeframes to identify swing highs, swing lows, and zones of price rejection. It does this objectively, without the subjective bias that manual drawing introduces.
- Volume validation. Each detected level is weighted by the volume transacted at that zone. High-volume levels receive more weight in the composite score; low-volume levels receive less. This automatically filters for the levels that matter.
- Confluence scoring. When multiple level types converge (previous day high + round number + VWAP, for example), the system recognizes this confluence and boosts the market structure factor accordingly. Confluence zones produce the highest-probability signals.
- Dynamic updates. Unlike static lines drawn on a chart, the AI updates its level analysis in real time as new data arrives. When a level is broken, the system immediately re-evaluates it as a potential role-reversal zone rather than continuing to treat it as active support or resistance.
The AI Advantage: When QubTrading fires a signal near a key level, the market structure factor in the composite score tells you how significant that level is. A buy signal at a high-confluence support zone with strong volume validation will produce a much higher composite score than the same signal at a minor, low-volume level. The system does the analysis so you can focus on execution.
Combining S/R with Other Factors
Support and resistance is most powerful when combined with other technical factors. A support bounce is one thing; a support bounce with strong bullish momentum, rising volume, favorable session timing, and full panel alignment across timeframes is something else entirely. Here is how S/R integrates with the other factors in QubTrading's scoring system:
- S/R + Momentum: A bounce off support accompanied by strong bullish momentum is far more reliable than a bounce with weak, hesitant momentum. The system evaluates both simultaneously.
- S/R + Volume: High volume at a support/resistance zone confirms that the level is being actively defended. Low volume suggests the level may break. Volume validation is automatic in the composite score.
- S/R + Session Context: A key level test during the opening drive carries more weight than the same test during midday chop. The system accounts for session quality automatically.
- S/R + VWAP: When support/resistance aligns with VWAP, the resulting level is exceptionally strong. This confluence of VWAP and structural S/R produces some of the highest-scoring signals in the system.
- S/R + Trend: Trading S/R bounces in the direction of the prevailing trend is significantly more reliable than counter-trend S/R trades. The system prioritizes with-trend setups at key levels.
Conclusion
Support and resistance is one of the oldest and most reliable concepts in technical analysis -- and for good reason. Key price levels represent the real-world battleground between buyers and sellers, and understanding where those battles concentrate gives you a structural edge that transcends any single indicator or strategy.
Whether you are identifying levels manually or leveraging QubTrading's AI-powered market structure analysis, the principles remain the same: focus on high-quality levels with confluence, trade in the direction of the prevailing trend, use role reversal to your advantage, and always combine S/R with other confirming factors.
Ready to trade with AI-identified key levels? Choose your QubTrading plan and start receiving signals that incorporate market structure analysis into every composite score. Visit our features page for a full breakdown of the scoring system, or join our Discord community to share level analysis with other traders.